Getting an Eclipse Helios Dynamic Web Project working with Maven
Recently I needed to create an Eclipse webapp from scratch. That’s not such a big deal and I’ve done it plenty of times, however Eclipse has not always had the best Servlet container integration. I used to use MyEclipse for that but Eclipse has come a long way with Helios. I’ve also become more used to having my Java projects’ dependencies managed by Maven. I found that mixing these two was not a trivial task. I did a lot of googling but didn’t find a comprehensive HOWTO on this subject. So after I figured out all the steps, I put them in this blog post. Hopefully this will be helpful to someone else trying to do the same thing.
Introduction:
This HOWTO is intended to guide a user familiar with Java development on Eclipse through the steps necessary to create from scratch a Java Webapp running under Tomcat and built with Maven. This is also a soup to nuts guide on how to create a Java Webapp using JSP and Servlets.
My Environment Details:
- OS: MacOS X 10.6.6
- Java: 1.6.0_22
- IDE: Eclipse Helios
- Tomcat 6.x
Step 1: Create a new Dynamic Web Project
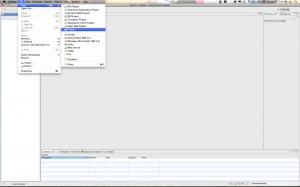
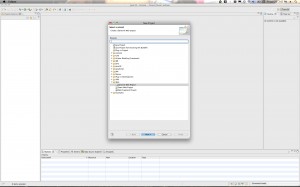
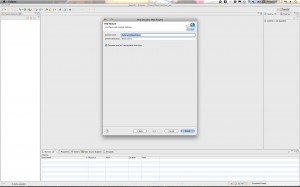
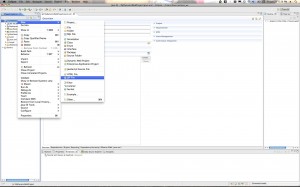
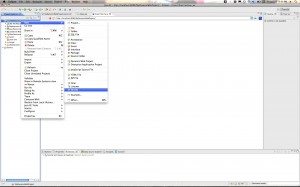
Go to File->New Project… and then Expand the “Web” folder and select “Dynamic Web Project”.
Note: If you don’t have “Dynamic Web Project” as an option in your Projects list then you probably have not installed the Eclipse IDE for Java developers and not the Eclipse IDE for Java EE developers. You can either go back and reinstall the Java EE version of Helios or you will have to install the Eclipse Web Developer Tools because the WST packages are required for Dynamic Web Projects.
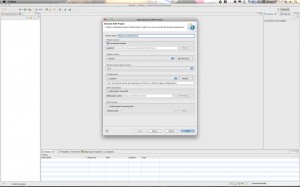
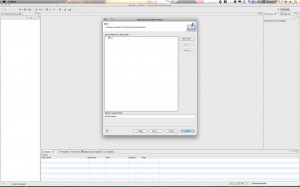
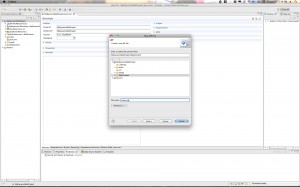
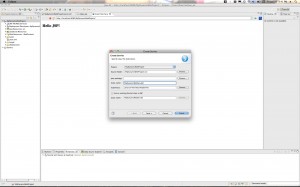
Hit “Next” and then give your project a name. Something like “MyMavenDynamicWebProject”. For the “Dynamic web module version” Select 2.5 if you are using Tomcat 6.x. If you are using Tomcat 7 you can go ahead and use version 3.0. Click through to the “Next” Button. Then when you get to the final page be sure to select the checkbox for creating the web.xml deployment descriptor. Then click “Finish”.
Here are the screen shots:
Step 2: Enable Maven
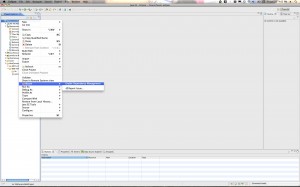
Control click (or right click) on your newly created project. Select Maven->Enable Dependency Management
Step 3: Create a Server
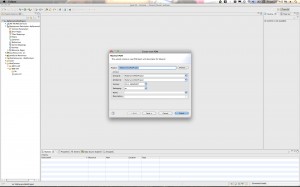
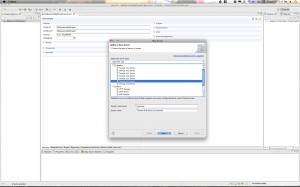
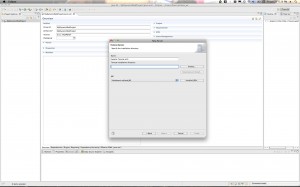
Look for the “Server” tab in the bottom of your Eclipse workbench. Select that tab and then control-click (right click). Select New and then go through the steps to setup a Tomcat 6 server. You can select Tomcat 7 if you have that installed.
Here are the screen shots:
Step 4: Fix the Build Path
I found that whenever I enabled Maven things got all messed up with my Java Build Path settings. So I suggest you check those and make sure all is well. Control-click (right-click) your project and select “Properties”. Here is what you want to look for:
- Java Build Path: Look at the Source tab. If it is empty then you will need to add back your Java source directory. Here are the screen shots:
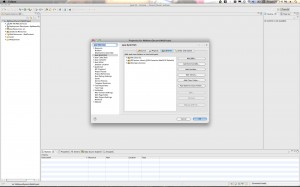
- Next you need to make sure that the correct version of the JVM is being used. Select the “Libraries” tab for this. Remove any old JVMs that may have shown up and re-add the default workspace JVM. I found that when I enabled Maven it replaced my workspace JVM with a 1.5 JVM. I had to remove the old one and replace my 1.6 default workspace JVM. Here is the screen shot:
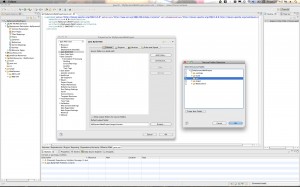
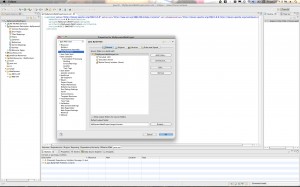
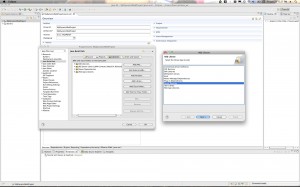
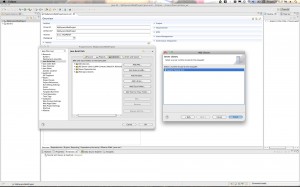
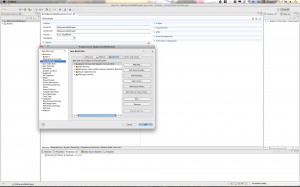
- Next you have to add the Server to your Libraries section if it’s not already there. Here are the screen shots:
- The last cleanup item I had to do was to force my Project to use the default JVM for the Java Compiler. Again, Maven undid this setting, so you have to go to Properties->Java Compiler to check for it there. Here is the screenshot:
Step 5: Create a JSP file
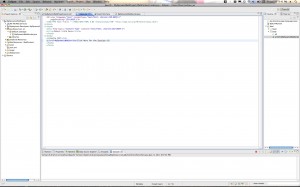
Control-click (right click) your project and create a new JSP page. Name it index.jsp. Here are the screen shots:
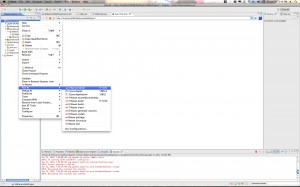
Step 6: Run the JSP in Tomcat
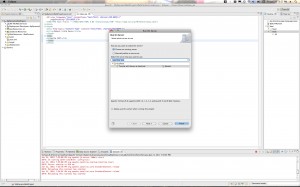
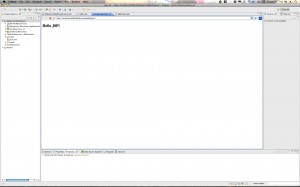
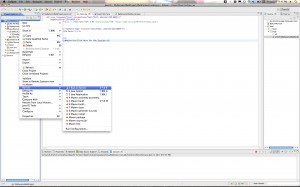
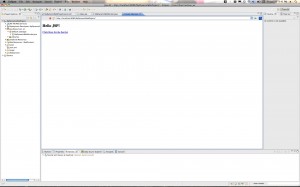
Control-click (right-click) your project and select Run As->Run on Server. Follow the steps to select Tomcat 6 as the Server to run on. You will end up with a browser within Eclipse that brings up your JSP page. Here are the screenshots:
Step 7: Create a Servlet
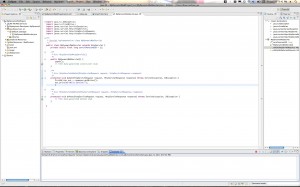
Control-click (right-click) your project and select New->Servlet. Give your Servlet a name and save it.
Here are the screenshots:
Step 8: Run the Servlet
There are a few ways to do this, but to illustrate how you can tie a Servlet to a JSP, we’ll invoke the Servlet you just created from the JSP you created in the step before that. Open up the previous JSP file and add a link to your Servlet. The link will look something like:
<a href=MyDynamicWebServlet>Click Here for the Servlet</a>
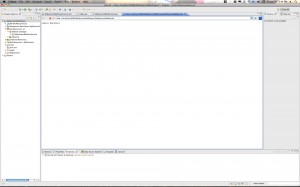
Here are the screenshots:
Conclusion:
Well that’s it! Hopefully this was helpful. Let me know either way.
